Account Preferences
Default Account Zone
Zones allow you to optimize the environments preformance. The default zone operates as the defaulted selection when users embark on creating new environments within their accounts. This refined approach eradicates the repetitive task of manually selecting a zone, promoting efficiency, and a user-friendly interface that adapts to individual preferences and operational requirements.
Change default account zone with the WebUI
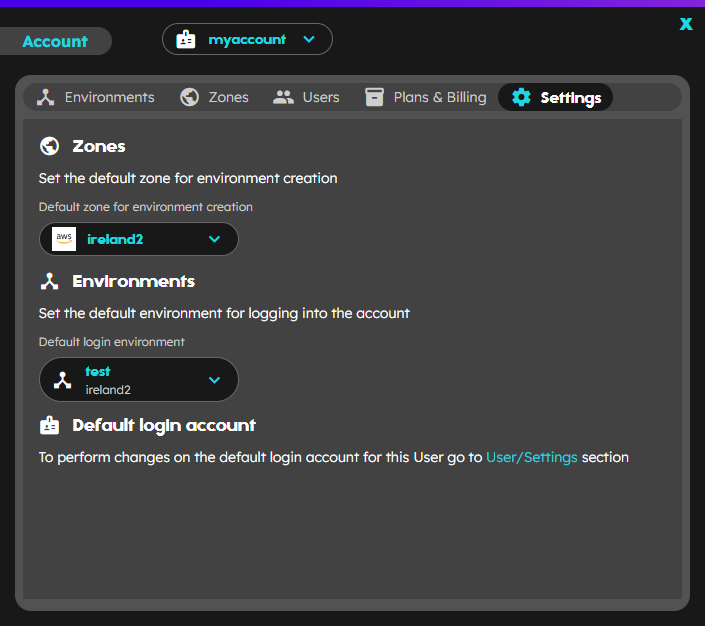
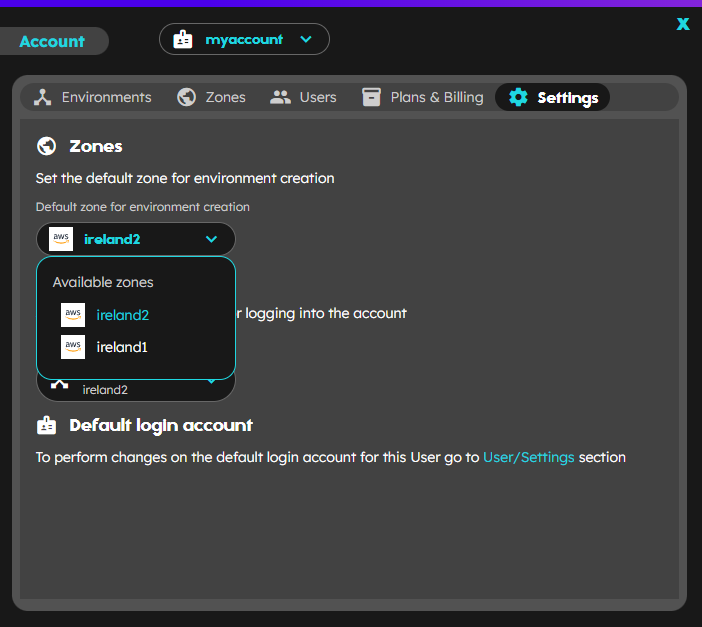
To set a Zone as your default zone for your account, you’ll first need to access the Account window using the button on the top right part of the main screen, right beside the plan tag. Once in the Account window, navigate to the Settings tab which is located in the top part. In the Settings tab, you’ll find a Zones section with a dropdown selector that indicates the current default. Click on the dropdown to change to the zone that you wish to set as the default . This new zone will be your default whenever you log into your account.
This action also may be performing in the Zones tab, when the detail information of a zone is being displayed.
In the following section, selecting a default zone there is more related information.
Change default account zone with the CLI
If you need to change the default zone selected, use the following command:
playground account change-default-zone <new_zone_name>
STATUS     INFO
SUCCESS    Default zone changed successfully
Default Account Environment
Environments allow you to organize your applications. A default environment of an account will indicate which environment we will be in when we log in to the playground. It can be interesting to be able to change this environment, to define which namespace we want to work in (no need to change environment once logged in to the playground)
Change default account environment with the WebUI
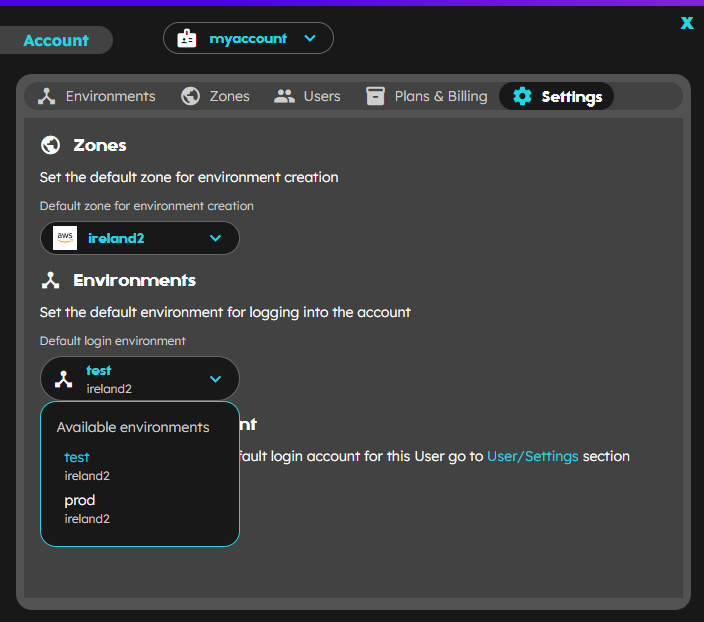
Aswell as for the zones default change, the change default login environment action may be performed by accessing the Settings section in the Account window, looking for the Environments section and clicking on the Default login enviroment dropdown to show a list of the available environments. Click on the desired one change it.
This action also may be performing in the Environments tab, selecting the desired environment from the list to display the detail, and using the toggle switcher.
In the following section, update there is more related information.
Change default account environment with the CLI
When recovering the account information
$ playground account info

ACCOUNT     ID                      PLAN    STATE
accountName chd0egrk6ue91f1ujh2g    PRO     ACTIVE

Quota (used/available):
TYPE            CPU     MEM(MB)       STORAGE (MB)
Subscription    2/4     8000/16000    2000/5000
Total           2/4     8000/16000    2000/5000

Environments (default zone: <zone>):
ENV                     ID                      STATUS    ZONE        CPU     RAM       STORAGE
accountName/env1        xxxxxxxxxxxxxxxxxxxx    ACTIVE    <zone>      0/1     0/4000    0/1000
accountName/env2 (ad)   yyyyyyyyyyyyyyyyyyyy    ACTIVE    <zone>      0/1     0/4000    0/1000

Users:
USERNAME    FULL_NAME           EMAIL           ROLE
username    Name LastName       user@xxxx.com   ADMIN
we can see the environments. The default environment is identified by (ad): Account default environment. An admin user can change it executing the following command
$ playground account preferences set-default-env accountName/env1
STATUS     INFO
SUCCESS    accountName/env1 changed to default account environment