Creating an environment
To create an environment, navigate to the environments window by clicking on the user icon in the top right corner of the main window, and clicking on “environments”. After that, you will be presented with a list of the current environments.
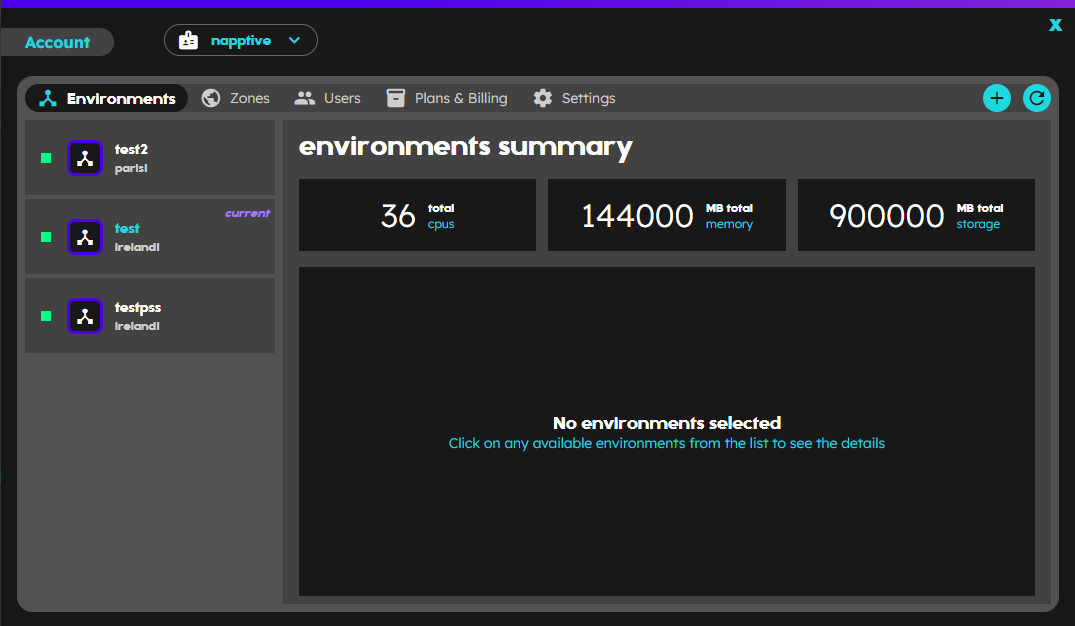 Figure: Current environments
Next, click on the plus button situated in the top right corner of the same window, and the dialog with the options to create the environments will be shown. Start by entering the “Environment Name”, which uniquely identifies your environment. Next, you may provide an optional “description” to add any extra information or notes about the environment. Following this, select the appropriate “Zone” for your environment from the available options (if more than one); this indicates the geographical location of the servers hosting your environment. For resource allocation, use the sliders or the input text next to each resource name to define the limits for CPU, Memory, and Storage for your environment. These sliders make it easy to adjust the desired quota, balancing your needs on the resources.
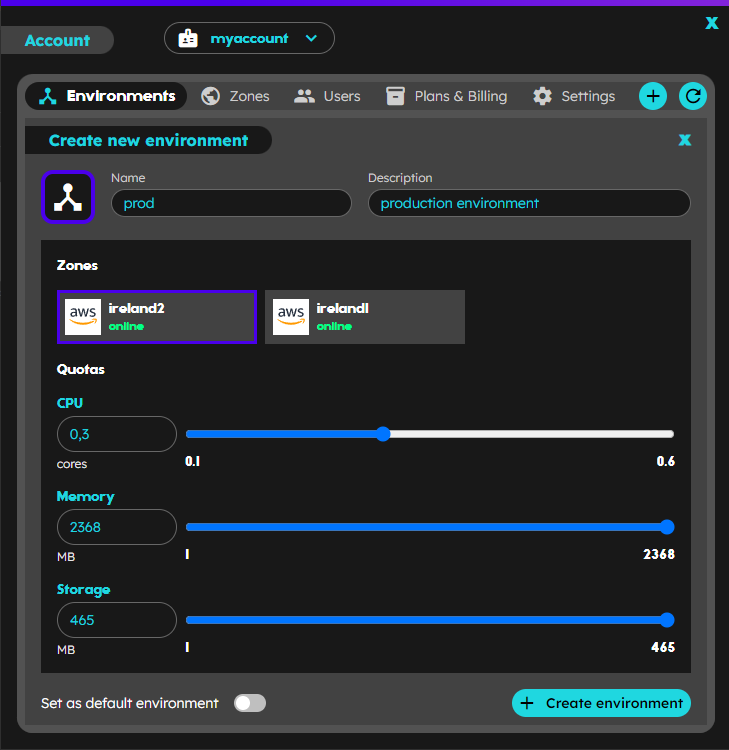 Figure: Create environment dialog
Once you’ve filled out the form, click on “Create Environment” to finalize your setup. As an optional step, you could check the box “Set as Default Environment” before submitting. Doing so will make this environment the default one, which means it will be automatically selected when you log into your account.
Creating environments with the CLI
As administrator of an account, you can create new environments in the account.
playground env create <account_name>/<env_name> \
 --description=”This is a test” --cpu=1 --ram=2G --storage=5G --set-as-default=true
Flags:
      --cpu float32          Cpu quota
      --description string   Environment description
      --ram string           Ram quota
      --set-as-default       Set environment as default
      --storage string       Storage quota
If the quota is not indicated (cpu, ram and/or storage), the environment will be created with the default quota associated with your subscription plan. You may create many environments to accommodate your specific use case, but the number of maximum environments is limited by the subscription plan. If you need more environments, consider upgrading your subscription plan, or contact us for special requests.
If the environments that is created requires more quota than available, the following error will be shown:
rpc error: code = Internal desc = Error creating environment. Not enough resources available