Zones
In the context our Playground platform, a “Zone” is a geographical location that is closely associated with the servers supporting the platform. These zones are distinct areas where your services and data can be hosted, offering enhanced security, improved latency, and aiding in disaster recovery. Through the Web UI, you can check these zones effectively and utilize them to the fullest. Here’s a detailed guide on how to do it:
Accessing Zones
Once you’ve logged into the Playground, open the Account window and navigate to the ‘Zones’ tab in the Account window top part.
Zones Overview
The first view you encounter in the ‘Zones’ tab is the zones overview or summary layout. Here, you’ll find a comprehensive list of all zones available to you, along with a ‘Status Summary’ for each zone.
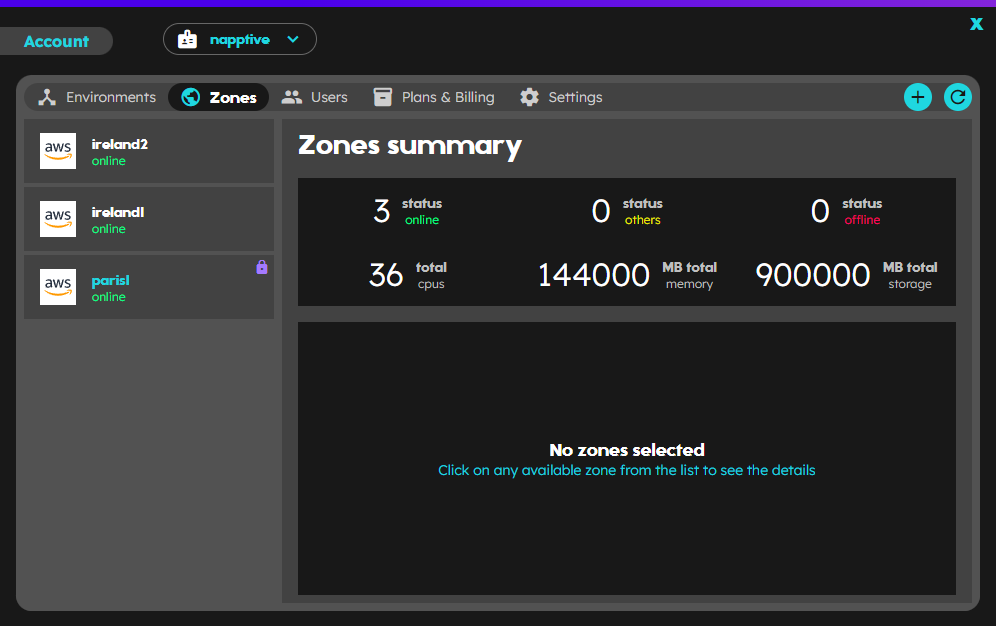 Web UI - Zones summary
The Status Summary shows whether a zone is ‘Online’ (active and accessible), ‘Offline’ (inactive or not in use), or in ‘Other’ status (representing unique or temporary conditions like maintenance, updates, or other specific settings).
Also, visible in this overview are the total quotas for CPU, memory, and storage for each zone. This information helps you understand the maximum capacity of each zone and plan your resource allocation accordingly.
Zone Details
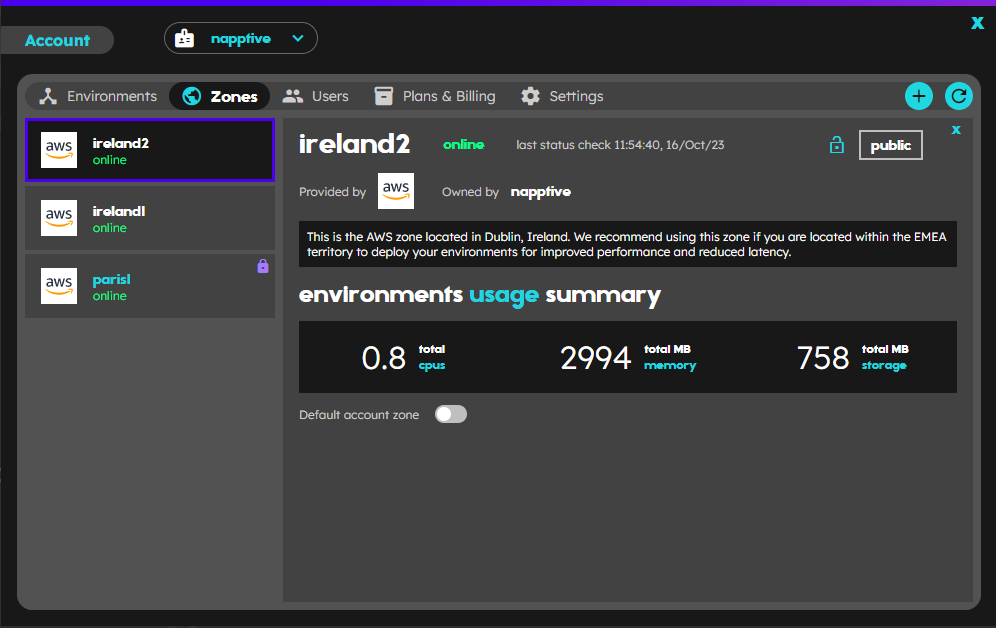
For more detailed insights, you can select a specific zone from the list by simply clicking on it. Doing so will bring up a detailed card, providing more granular information about the selected zone:
The total quotas for CPU, memory, and storage displayed represent the overall capacity allocated for all the zones in the selected account. These quotas let you understand the maximum potential of your SaaS platform and help you plan resource allocation across different zones efficiently.
When you select a specific zone from the list, you are presented with more detailed information related to that zone. This includes:
- Description: A brief explanation of the zone, its purpose, and its characteristics.
- Status: Indicates if the zone is currently active or inactive.
- Last status check: Displays the last communication that happened to the zone
- Visibility: Indicates if the zone is public or private.
- Provider: This displays the provider of the zone. The provider could be a third-party cloud service or an in-house server, depending on your setup.
- Zone Owner: Information about who owns and manages the zone. It could be an individual user, a team, or an entire organization.
- Environments Usage: This provides data about the different environments operating within the selected zone. This can include information about dev, test, and production environments, the resources they’re consuming, and their current operational status. It may happen that a zone has no usage from its environments yet.
- Default Zone: This indicates if the selected zone is the default zone for your account. The default zone is the one that your account automatically operates in unless another zone is specifically chosen.
Understanding and effectively utilizing zones in your account can significantly enhance your team’s productivity and help you manage your resources more effectively. They provide the necessary compartmentalization for complex projects, ensuring that each area of your work receives the resources and attention it needs to succeed.
 Web UI - Zone detail