Updating environments
Update default account environment
Update default account environment allows you to change the environment in which we will work when logging in to the platform
Update default account environment with the WebUI
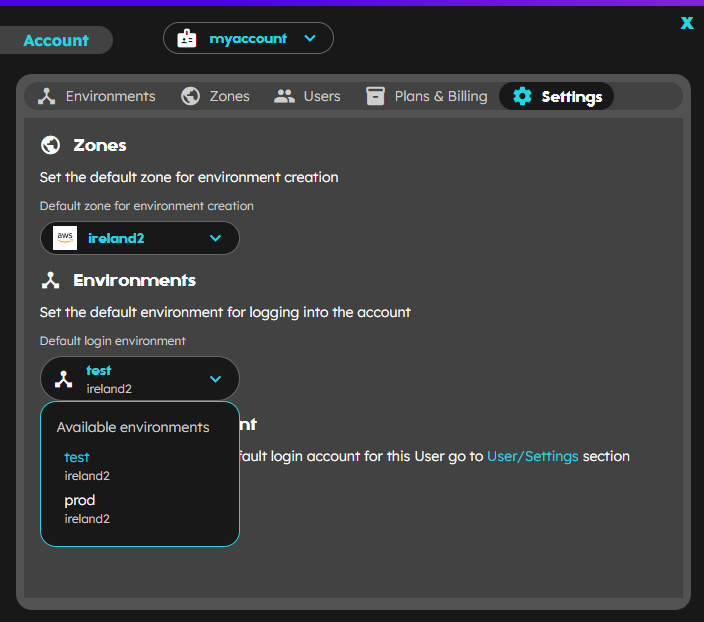
To set an Environment as your default zone for logging into your account, you’ll first need to access the Account window using the button on the top right part of the main screen, right beside the plan tag. Once in the Account window, navigate to the Settings tab which is located in the top part. In the Settings tab, you’ll find a Environments section with a dropdown selector that indicates the current default. Click on the dropdown to change to the environment that you wish to set as the default.
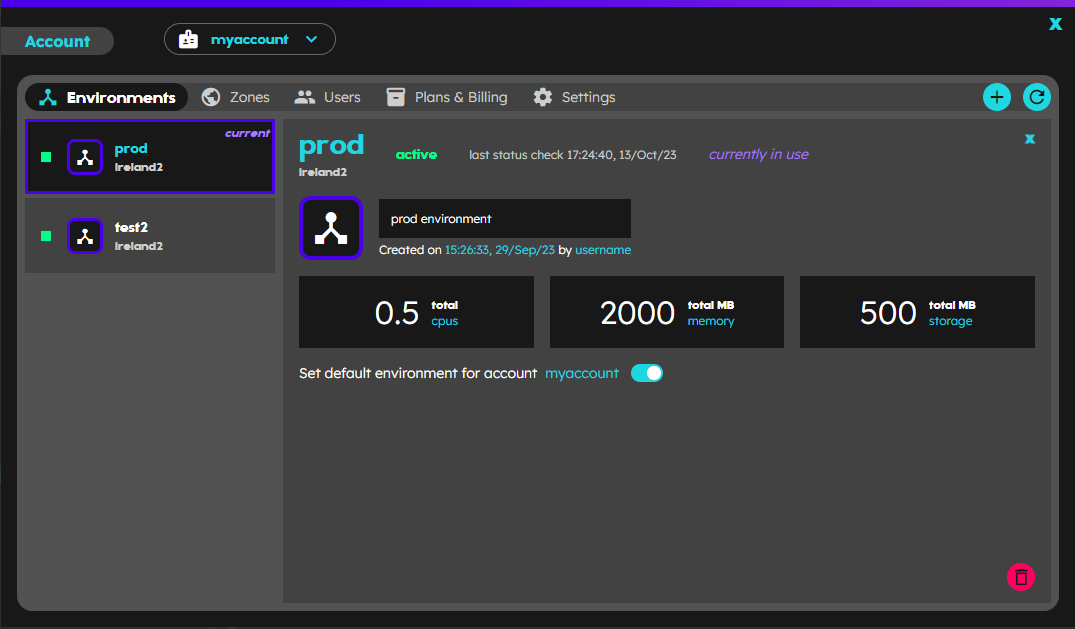
This action also may be performing in the Environments tab, selecting the desired environment from the list to display the detail, and using the toggle switcher.
Update default account environment with the CLI
$ playground env list
Target environment: accountName/env1
   NAME                 ZONE        STATUS    ID                      DESCRIPTION
* accountName/env1 (ad) <zone>      ACTIVE    xxxxxxxxxxxxxxxxxxxx    environment 1 for development
  accountName/env2      <zone>      ACTIVE    yyyyyyyyyyyyyyyyyyyy    environment 2 for production
where
*: Current Environment
(ad): Default Account Environment
Change the default environment executing
$ playground env update accountName/env2 --set-as-default
STATUS     INFO
SUCCESS    accountName/env2 is the default account environment
$ playground env list
Target environment: accountName/env1
   NAME                 ZONE        STATUS    ID                      DESCRIPTION
* accountName/env1      <zone>      ACTIVE    xxxxxxxxxxxxxxxxxxxx    environment 1 for development
  accountName/env2 (ad) <zone>      ACTIVE    yyyyyyyyyyyyyyyyyyyy    environment 2 for production